Creating a Screen Recorder with JavaScript

Frontend dev building innovative experiences on the modern web.
There are countless articles on the web on what the best screen recorders are. Have you ever thought about building one? If you have and you know a fair bit of javascript, you've come to the right place. In this article, you will learn how to use the MediaStream Recording browser API to record a user's screen, then save it to their computer.
The big idea...
Before getting lost in the details of what we're trying to build, let's paint a general picture of what we hope to achieve.
First, how would a user interact with the recorder? Well, we'd want them to take the following steps:
Click some start button to initiate the recording.
Click some other stop button to stop the recording.
Upon stopping the recording, the video should be automatically downloaded to their computer.
Seems pretty easy. Let's try that again, but now, with how everything would work under the hood.
When a user begins a recording by clicking a start button, we call the
getDisplayMediamethod to get a stream of the user's screen.We create a
MediaRecorderto record the gotten stream.When the user stops the recording, we create a blob from the recorded stream and download said blob.
Let's work on those steps in that order.
Starting the screen recording
To get the recording going, we call on the getDisplayMedia method. The method is asynchronous and returns a promise which resolves to a MediaStream.
async function createStream() {
  return await navigator.mediaDevices.getDisplayMedia();
}
This function would prompt the user to select the portion of their screen they would like to record then return the MediaStream as we discussed earlier.
Recording the stream
Now that we have the stream, we need to do something with it. Since you opened this article, my wild guess is you'd like to record it. That isn't too difficult either.
function createRecorder(stream) {
  let chunks = []; // This array stores the chunks gotten from the media stream.

  // This is probably the more important bit of this block of code.
  // The recorder we create is simply an instance of the MediaRecorder
  // which has some useful methods to handle the stream recording.
  const recorder = new MediaRecorder(stream, { mimeType: "video/webm" });

  // handles when new data is available to the recorder
  recorder.ondataavailable = function (e) {
    if(e.data.size > 0){
      chunks.push(e.data);
    }
  };

  // this method gets called when the recorder.stop() method is called.
  recorder.onstop = function () {
    // When the recorder is stopped, we pass the chunks to a saveVideo
    // function which we will create soon.
    saveVideo(chunks);
  };

  // Starts the recording with a 200ms duration per blob
  recorder.start(200);
}
Let's talk through everything that's happening line by line. In the first line, we create an empty chunks array. This array will hold the blobs recorded by the recorder. In the second line, we create a new MediaRecorder instance. The MediaRecorder constructor accepts two arguments: a stream to record and an options object where you could specify further options for the recording. For the stream argument, we pass in the stream gotten from the parent createRecorder function. For the options argument, we pass in an options object specifying the mimeType of the final recording to be video/webm.
In the next line, we set the recorder's ondataavailable method to a function which accepts a BlobEvent as a parameter and simply pushes its data property to the chunks array we created at the very top. A few lines down, we set the recorder's onstop method which is a function that gets called when the recorder is stopped. In the method's body, we call a saveVideo function (that we haven't created yet) and pass in the chunks array. The very last thing we do is to start the recorder by calling its start method.
Saving the recording
While creating the recorder, we called a saveVideo function in the recorder's onstop method. Let's now work on that function.
To save the recording, we will take the following steps:
Create one big blob from the array of smaller blobs (chunks) we get as a parameter.
Create an
objectUrlfor said blob.Download blob from said url.
Let's translate this to code.
function saveVideo(chunks) {
  // Create a single blob from the array of chunks
  const blob = new Blob(chunks, { type: "video/webm" });

  // Create a url pointing to the blob
  const url = URL.createObjectURL(blob);

  // Downloading the video programmatically
  const linkElement = document.createElement("a");
  linkElement.href = url;
  linkElement.setAttribute("download", "video.webm");
  document.body.append(linkElement);
  linkElement.click();
  document.body.removeChild(linkElement);

  // Revoking the created url to prevent memory leaks
  URL.revokeObjectURL(url);
}
With all the pieces ready, it's time to bring everything together and test our app.
Bringing the pieces together
The first thing we'll need is two global variables. One to hold the MediaStream and another to hold the instance of MediaRecorder we create. Let's set those up and initialize them to null.
let stream = null;
let recorder = null;
Next, we'll create two functions. A startRecording function which starts the recording and a stopRecording function which, well, stops the recording.
async function startRecording() {
  // Pass the result of the createStream function to the global stream variable
  stream = await createStream();
  // Pass the instance of the MediaRecorder we create to the global recorder variable
  recorder = createRecorder(stream);
}
function stopRecording() {
  // Stops the recorder.
  recorder?.stop();
  // Stops the stream.
  stream?.getTracks().forEach((track) => track.stop());
}
The very last thing we'd do is hook the start and stop recording functions to buttons in the DOM so we can test out the app.
// Get the buttons from the dom
const startBtn = document.querySelector("#start-btn");
const stopBtn = document.querySelector("#stop-btn");

// When startBtn is clicked, the startRecording function gets called.
startBtn.addEventListener("click", startRecording);

// When stopBtn is clicked, the stopRecording function gets called.
stopBtn.addEventListener("click", stopRecording);
And that's the javascript part done.
Preparing the html file and testing the app
In the same directory as the javascript file you just finished writing, create an index.html file, copy paste the following markup and change the src attribute of the script tag to whatever you named your javascript file (I named mine app.js).
<!DOCTYPE html>
<html lang="en">
  <head>
    <meta charset="UTF-8" />
    <meta name="viewport" content="width=device-width, initial-scale=1.0" />
    <title>Screen Recorder</title>
    <style>
      .container {
        display: flex;
        justify-content: center;
        align-items: center;
        gap: 2rem;
      }
    </style>
  </head>
  <body>
    <div class="container">
      <button id="start-btn">Start Recording</button>
      <button id="stop-btn">Stop Recording</button>
    </div>
    <!-- Change the src attribute to the name of your js file -->
    <script src="app.js"></script>
  </body>
</html>
Open the html file in a browser using the liveserver extension on VSCode (you can alternatively just open the html file directly) and you should see something a bit like the below image in your browser.
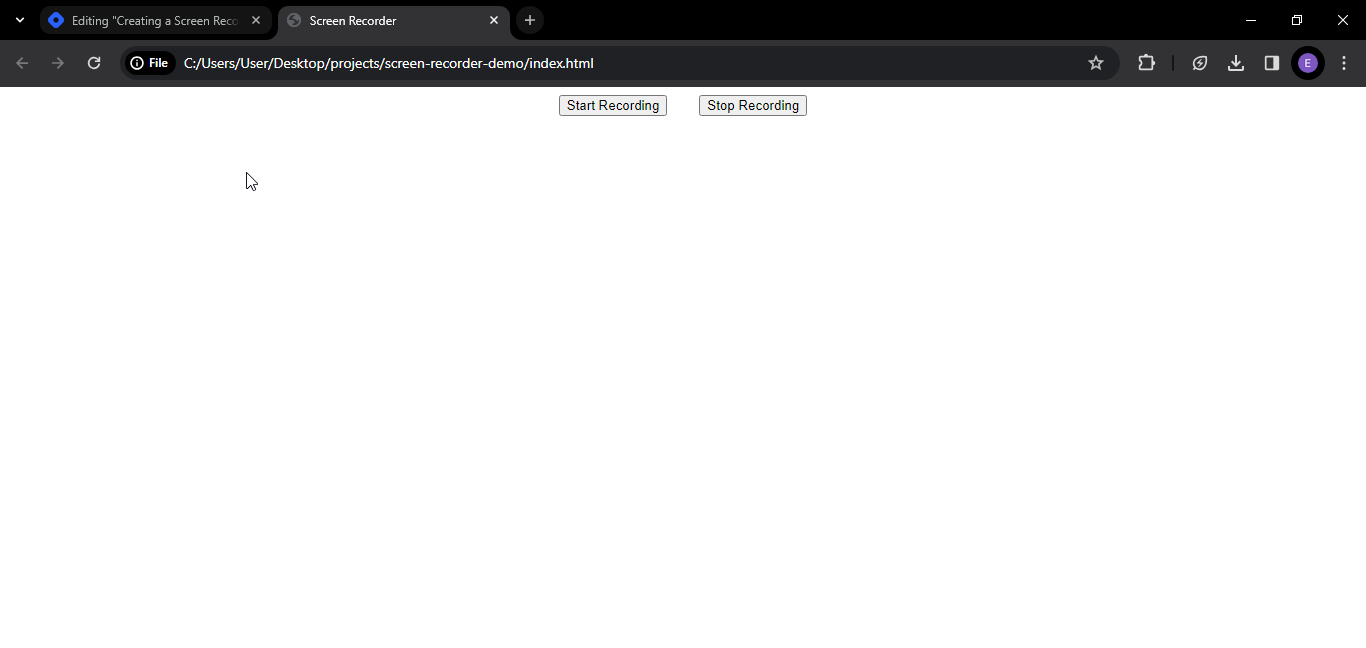
Not the fanciest but it should do for the demo. If you click the Start Recording button, you should see a dialog box asking you to select the portion of your screen you'd like to share. The stop recording button should stop the recording and download the recording to your computer.
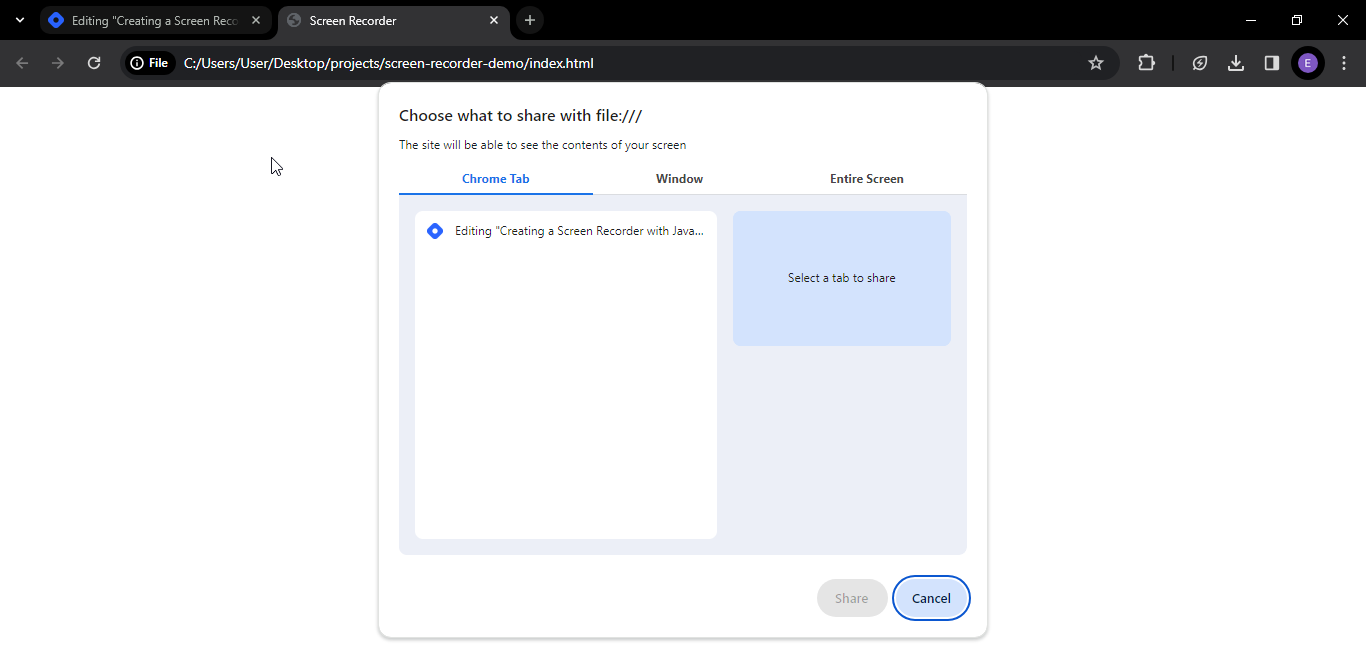
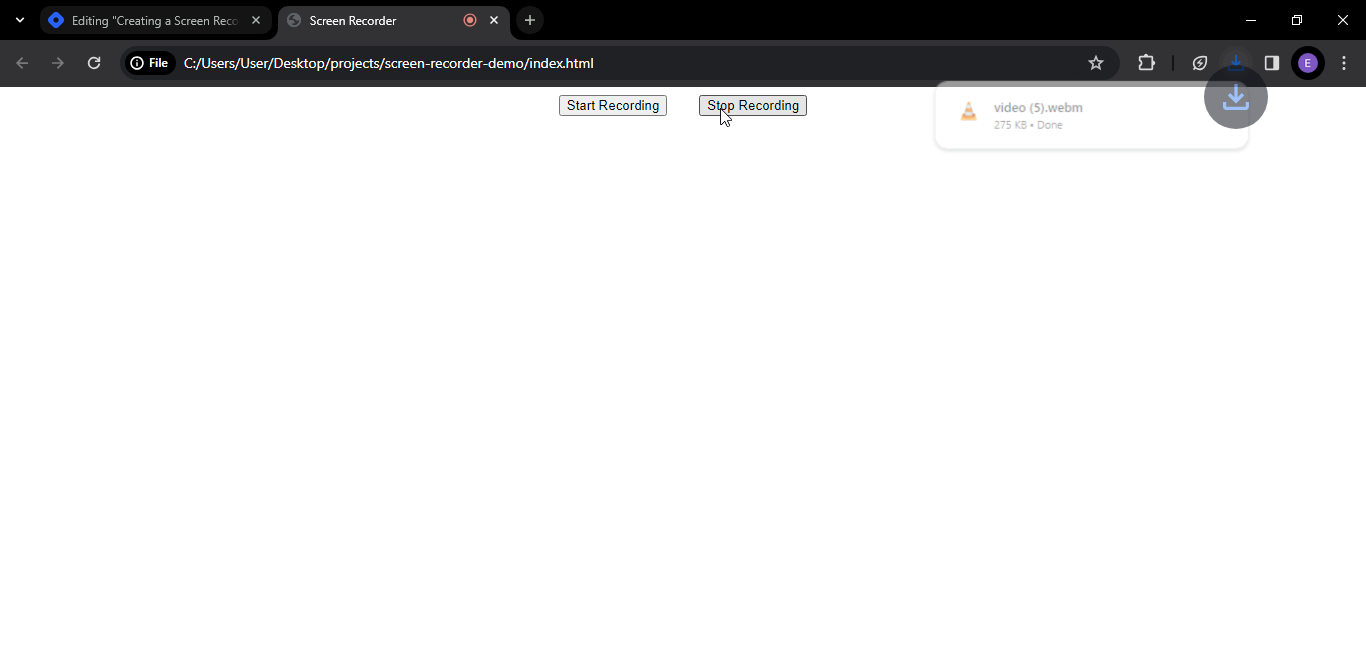
And with that, you've successfully created a working screen recorder, congratulations!
Further steps
While the recorder may be working somewhat, you may find that it does not have its duration metadata when you open it in a video player like vlc. To fix this, I found a small, helpful library
fix-webm-durationwhich appends the missing duration metadata. You can check it out here.If you'd like users to preview their screen recording as they record, you can set the
srcObjectattribute of avideoelement to the stream and users will be able to see their recording in realtime. Also make sure to add theautoplayattribute to the video element.
Conclusion
Thanks for sticking with me to the end. I do hope you enjoyed the article and that it helped, even a tiny bit, in demystifying the process of screen recording using javascript.
Till we meet again amigo :)
Helpful links
More about media streams: https://developer.mozilla.org/en-US/docs/Web/API/MediaStream.
More about the MediaRecorder: https://developer.mozilla.org/en-US/docs/Web/API/MediaRecorder


